Bulb Onions Grown Successfully Over a Florida Winter

First try at growing Texas Grano bulb onions in my central Florida backyard is a success!

A grower in Deland, Florida had posted about their success in growing Texas Grano bulb onions here in Florida. I hadn’t thought it was possible to grow onions in zone 9b. Now I have tried it over this past Florida winter, and have had some success!

Growing Texas Grano Onions From Seed

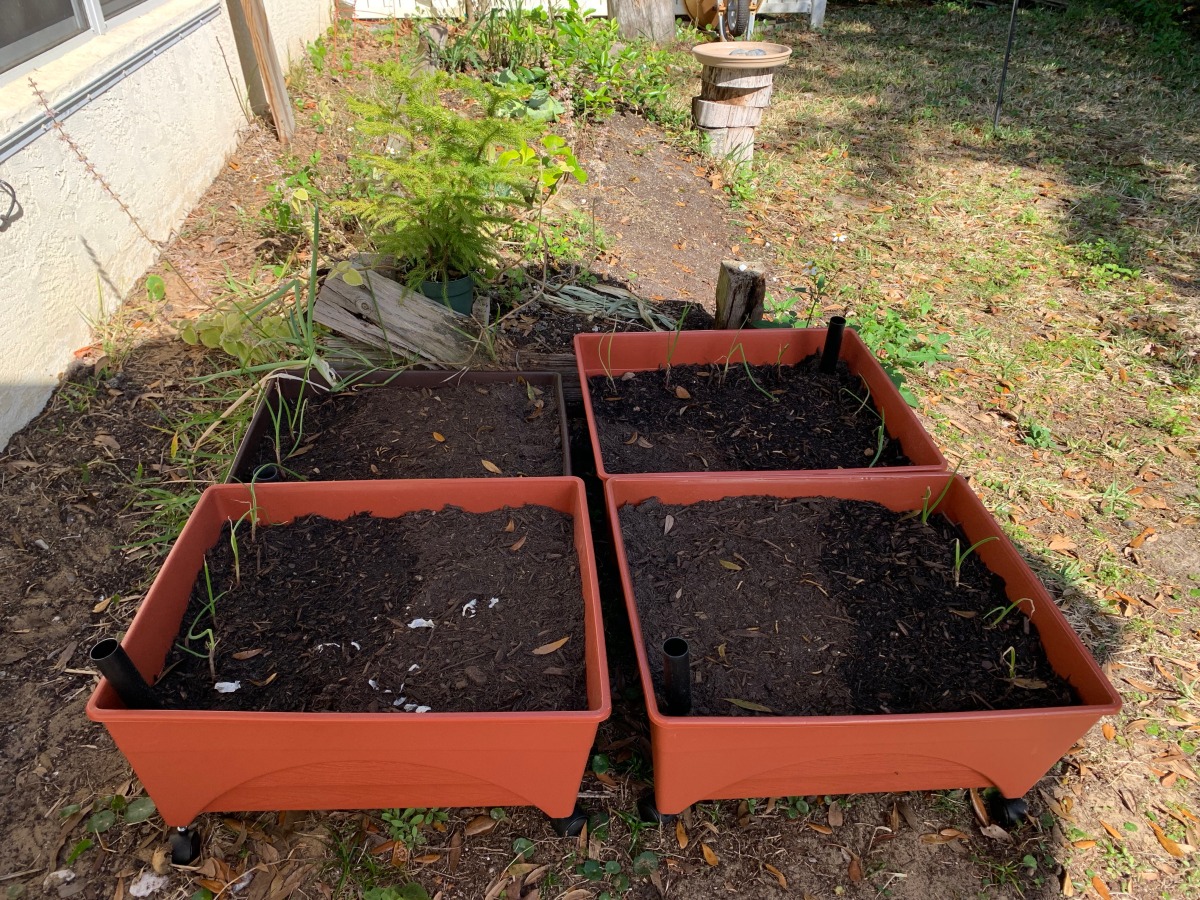
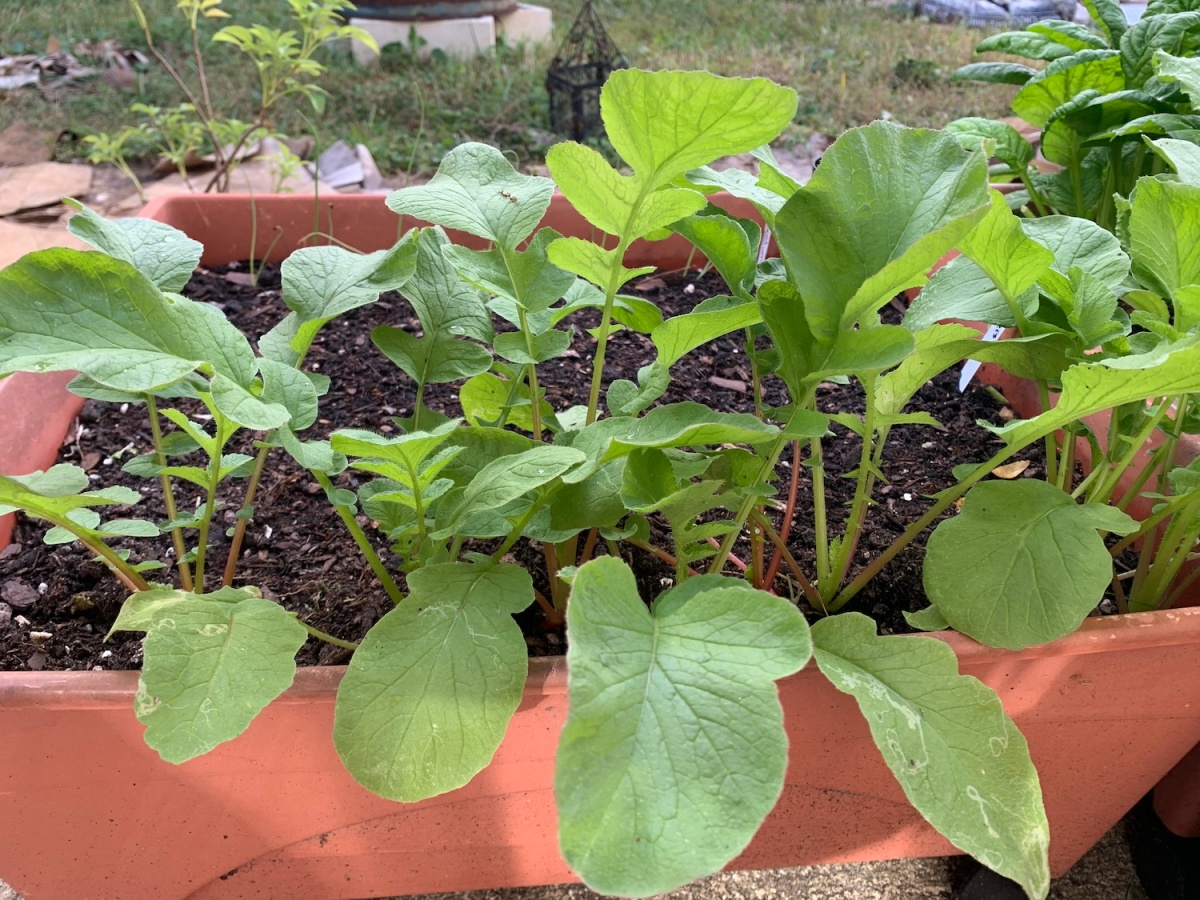
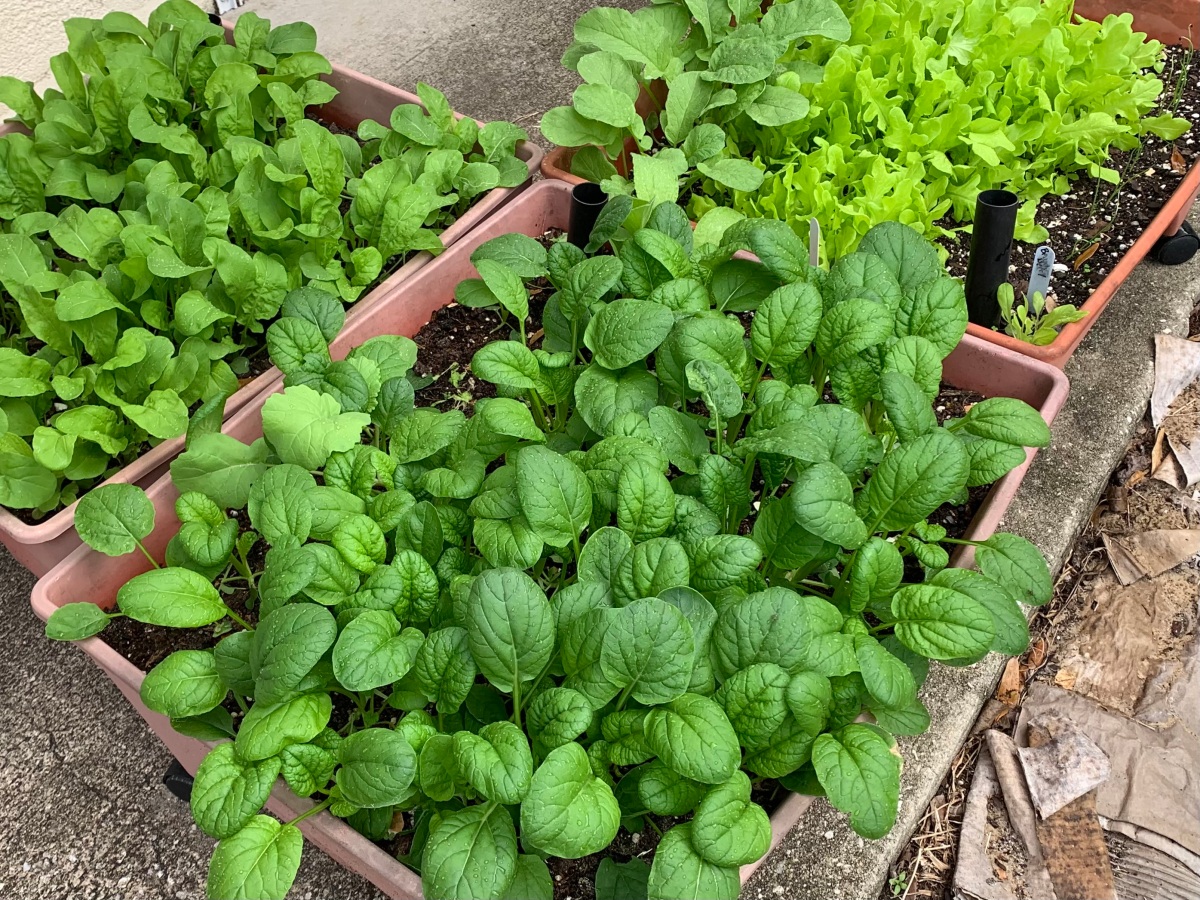
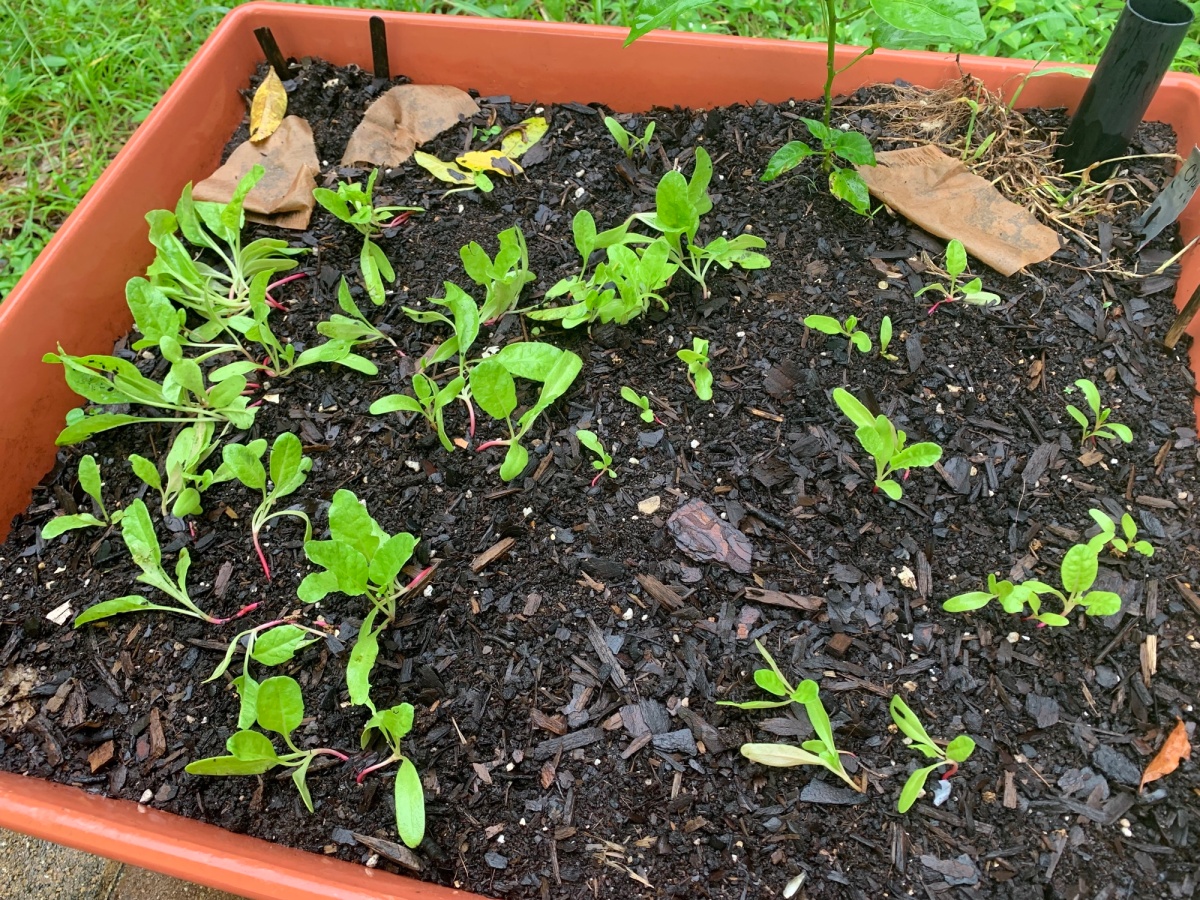
After purchasing seeds online, I went around the yard and planted them in raised bed boxes and in the ground.. I didn’t have high hopes for actually getting real onions from the garden. Truthfully, some are still growing and may not turn into anything. I did get a row that grew big enough to call “onions” and their stems just recently began falling over – signaling their end to growing.

Finding good advice for growing ANYTHING in Florida is difficult. But, you can take advice from growers in other zones. I can’t always do as they do, but things like “when to pull your onions”, is universal.

Watch this quick video, from The Rusted Garden, with advice about growing bulb onions.

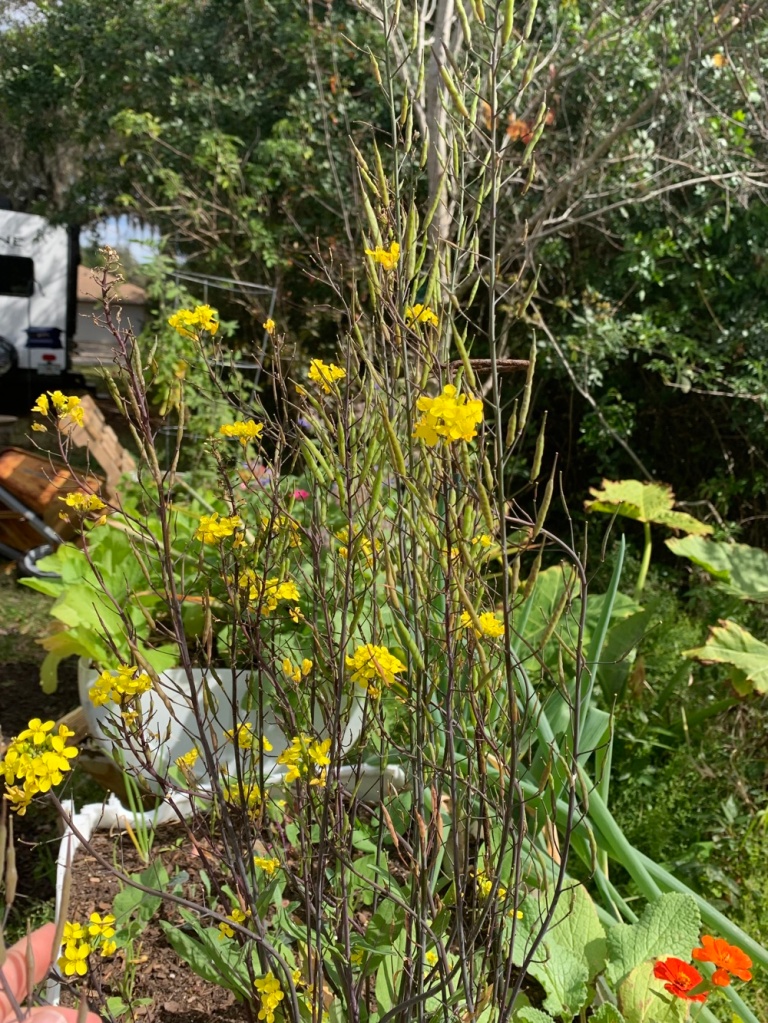
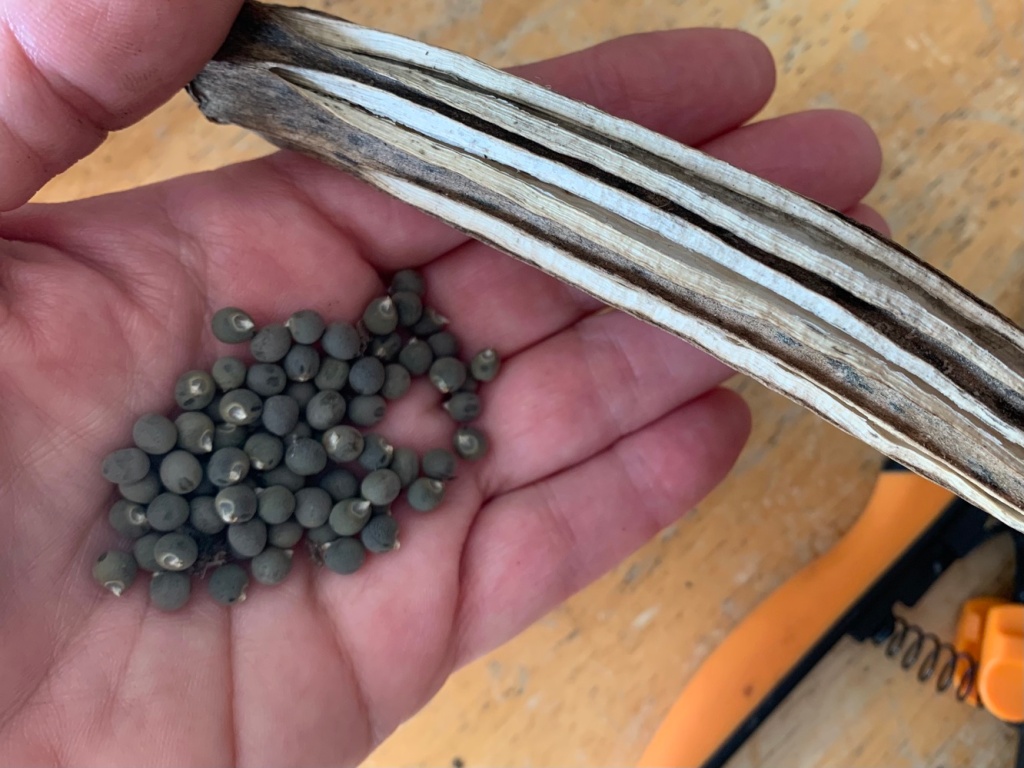
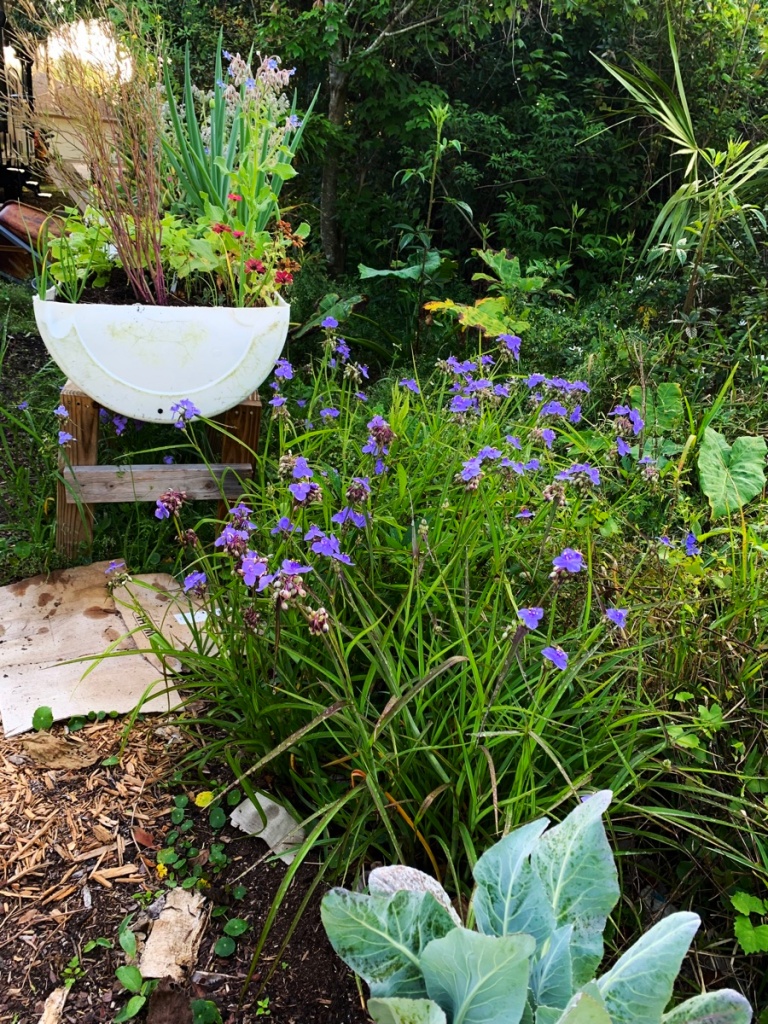
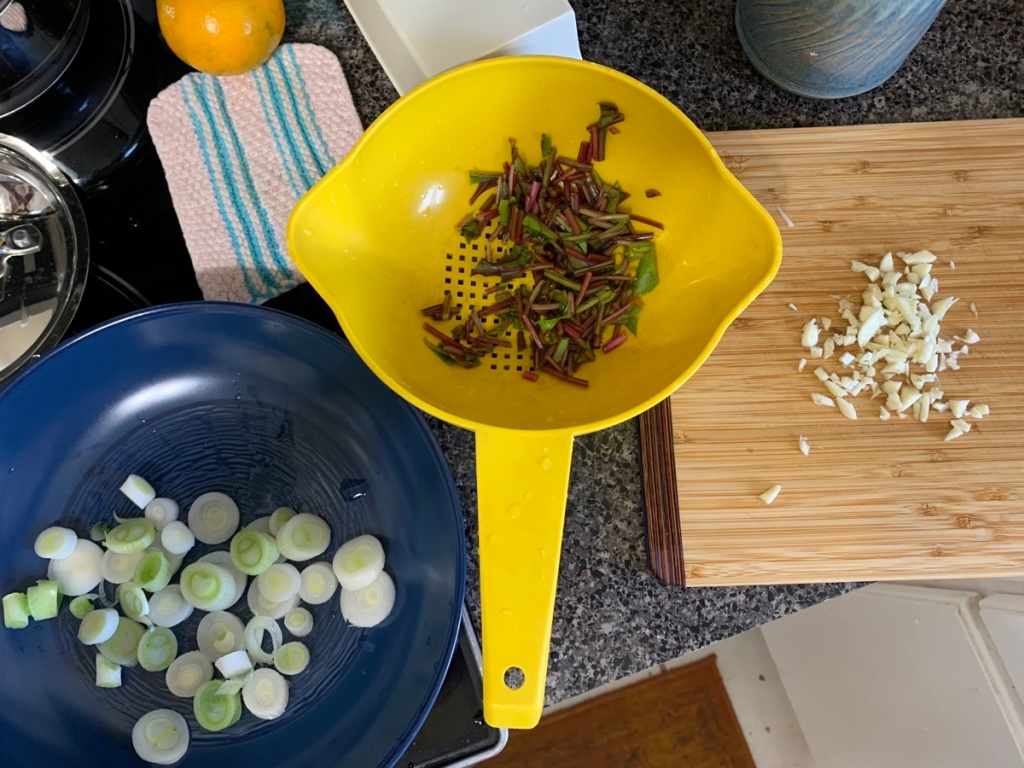
Here in Florida I easily grow bunching onions. Those are the ones that do not get big at the bottom and we use the green stems for eating… unless they are left to grow and grow. The white bottom gets large, and they send out a beautiful big white flower which is where the seeds will be.

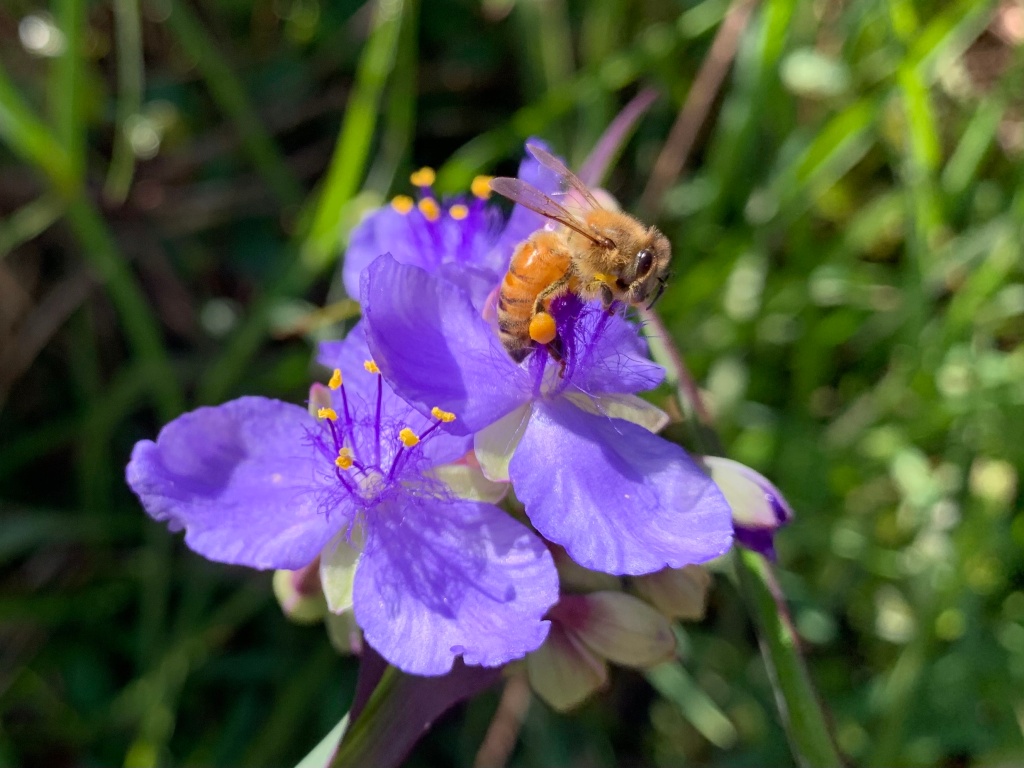
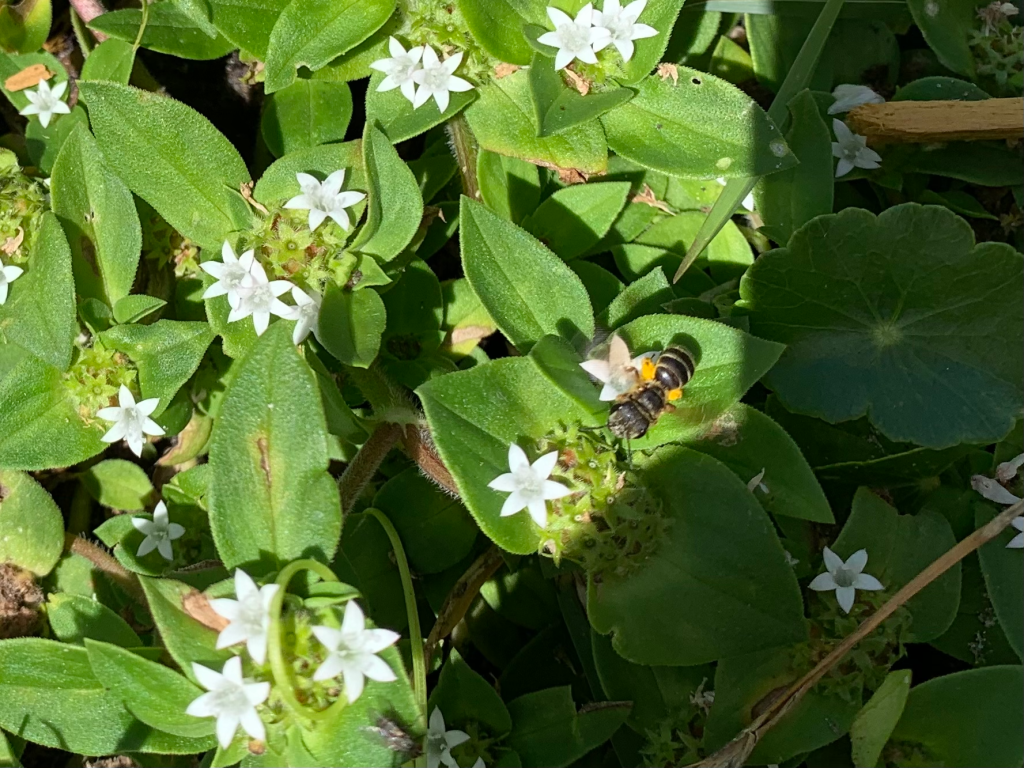
When I want to grow bunching onions, I buy some at Publix and save the rooted ends. A new bunching onion grows from that. I let them get big in my yard so they will flower. Bees and butterflies love the flowers! The bottom white part can also be sliced and sautéed.

Bulbing onions are another story. Because the SEEDS need to be planted in Fall (in zone 9b) and grown over winter, they must be left in the garden for months.

When searching for more about growing onions you will find “starts” and “sets”, but I have tried starts and they did nothing. It was a lot of work, for NO return, was my experience. I will plant seeds – directly outdoors – once again this coming Fall.
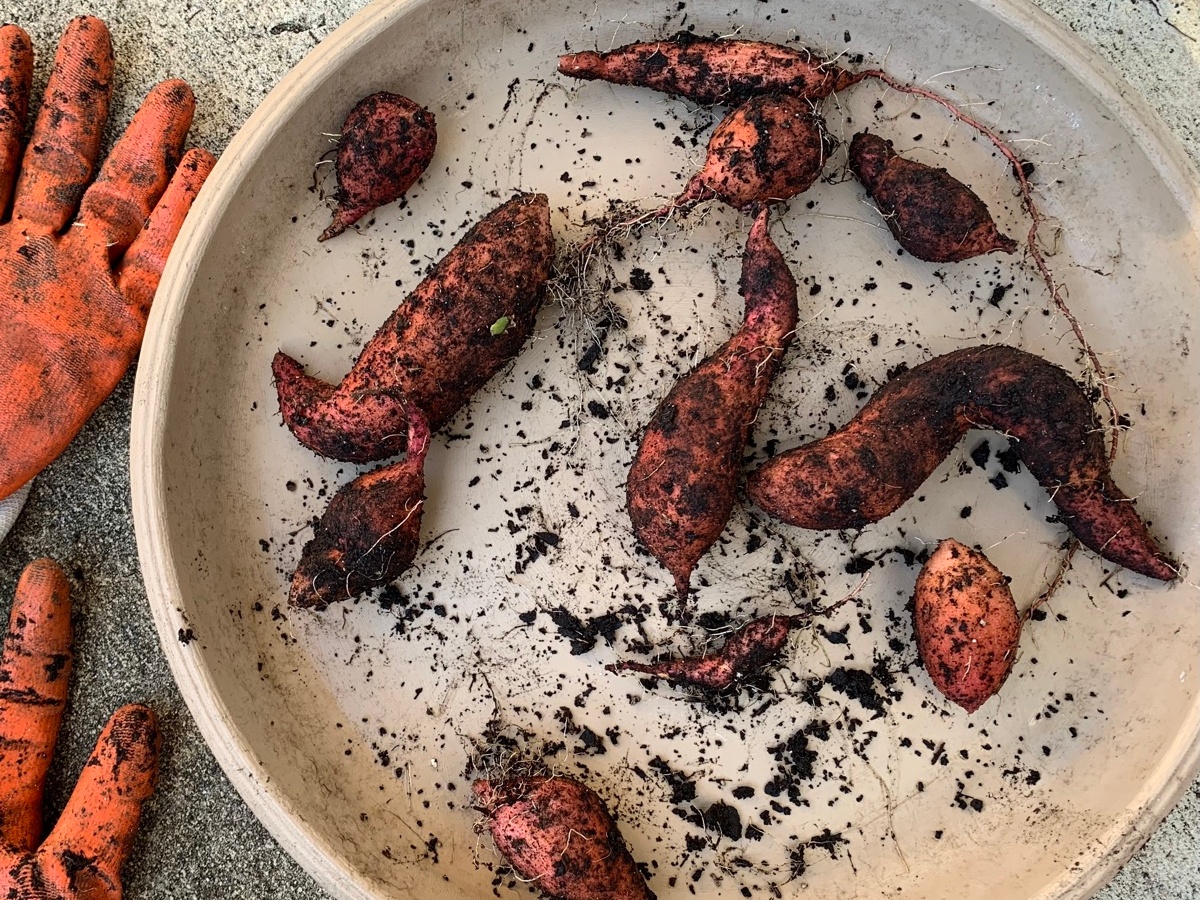
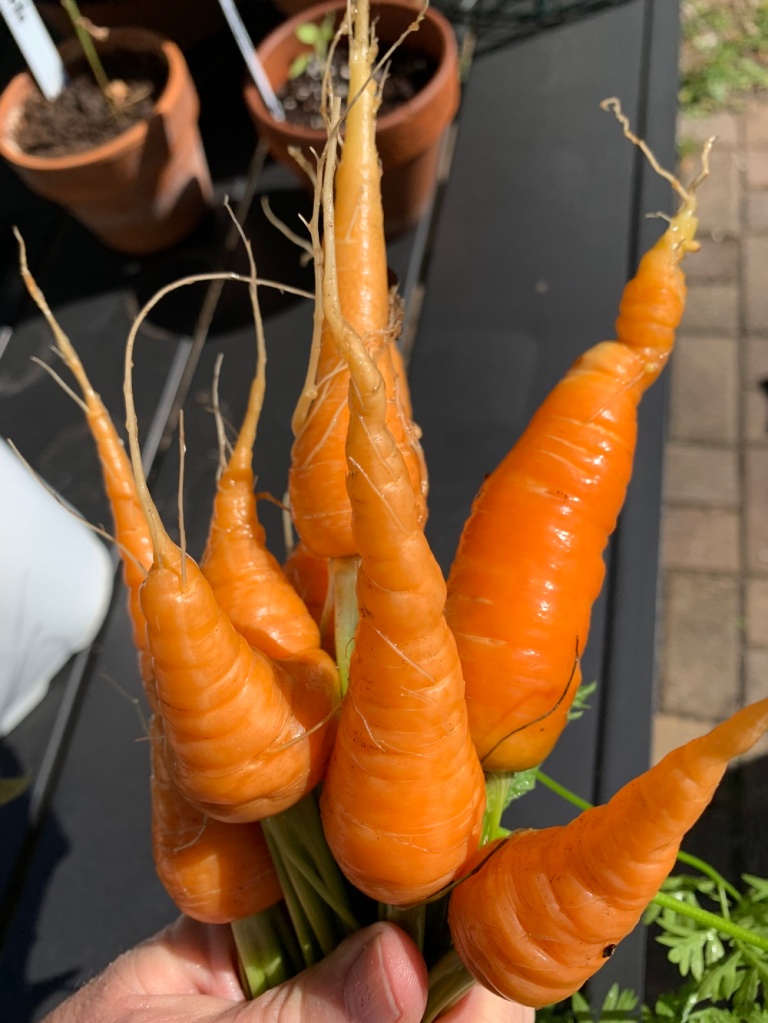
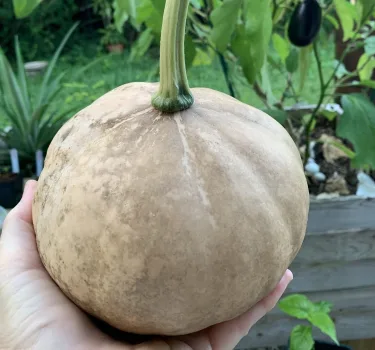
My Onion Harvest

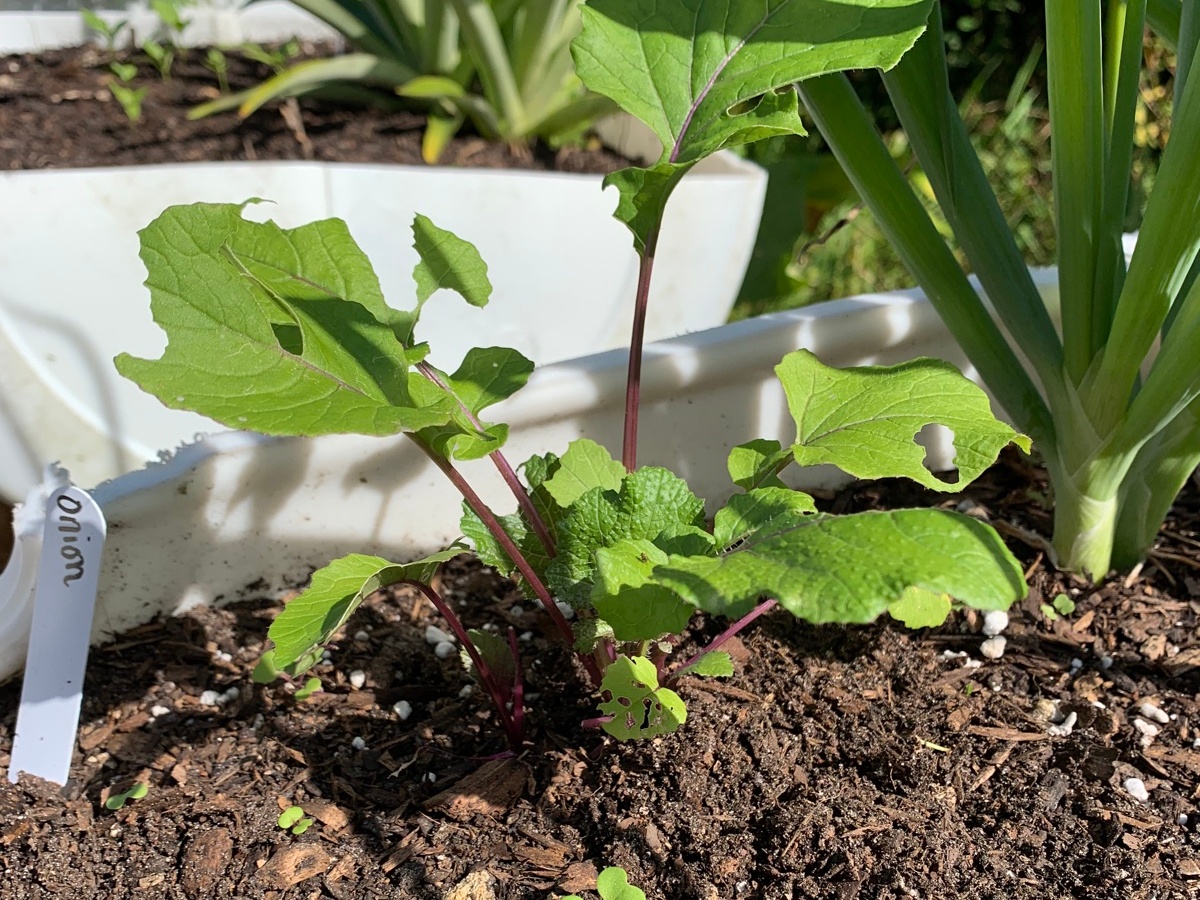
I planted my Texas Grano Onion seeds in October. I am now harvesting them in May. That is a long time – seven months! Not all of them grew, in fact I’d say most did not grow at all, or remain small. I’m waiting to see if the small ones continue to grow.

I purchased the seed packets for Texas Grano onions at SESE (southern exposure seed exchange).

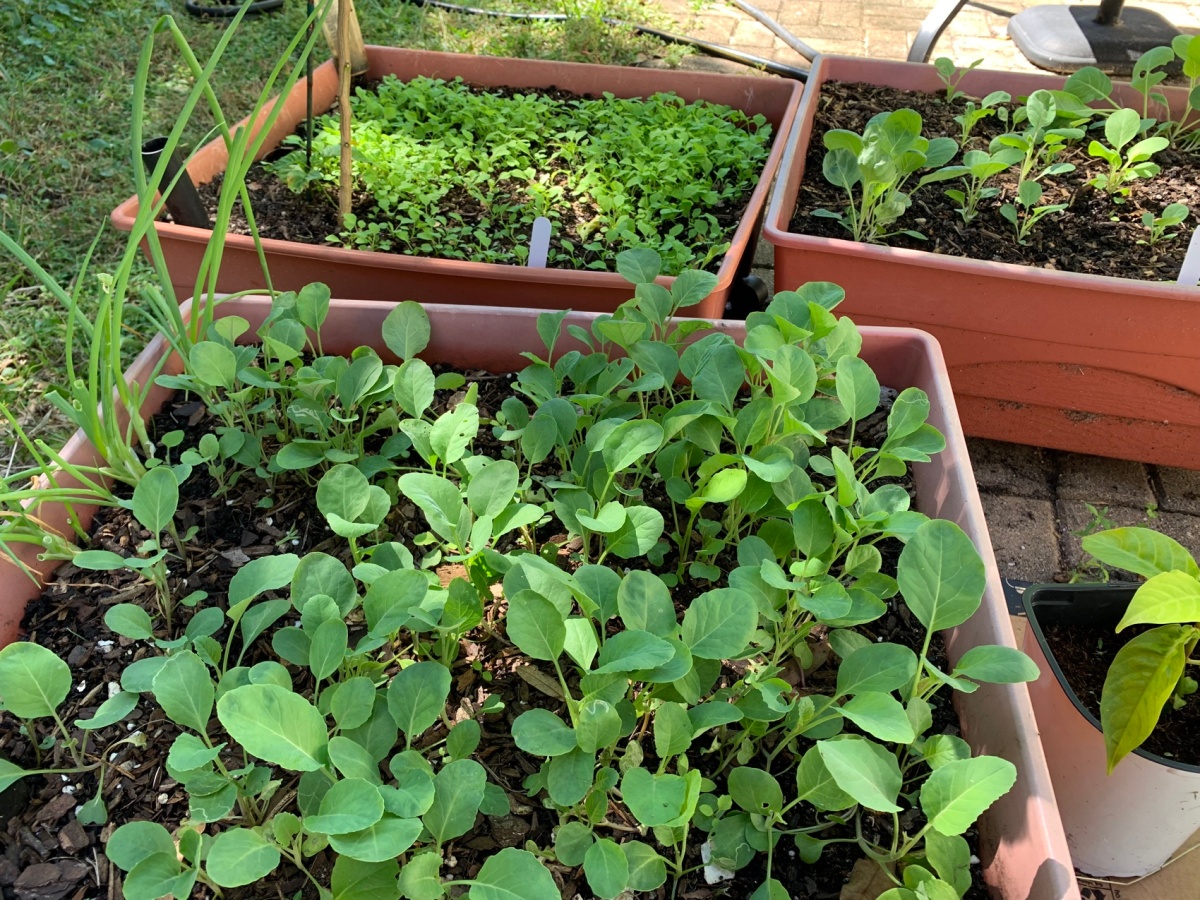
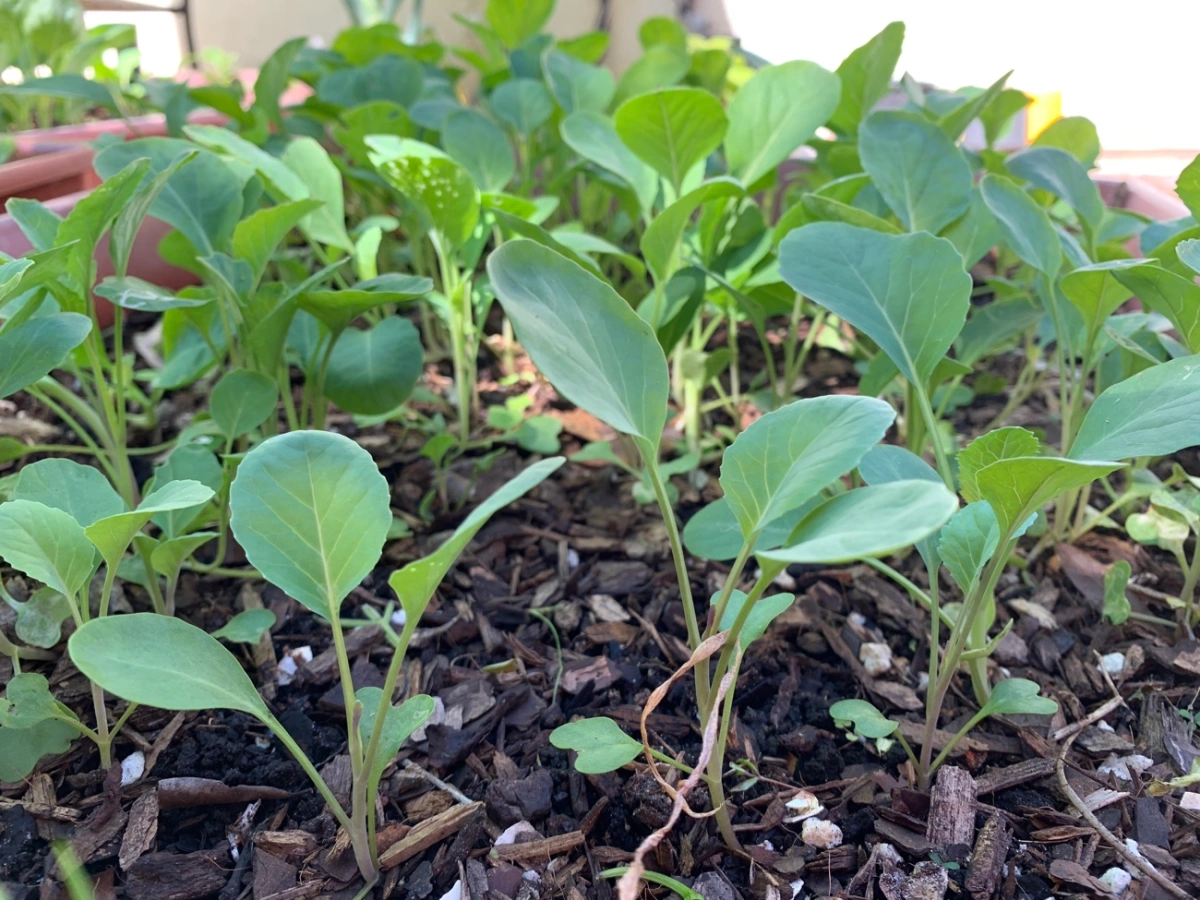
I will admit to not taking good care of my seedlings. My mindset was that they wouldn’t grow anyway, so I pretty much ignored them. Next time, I will be more careful because I know it’s possible to get nice onions from the seeds.

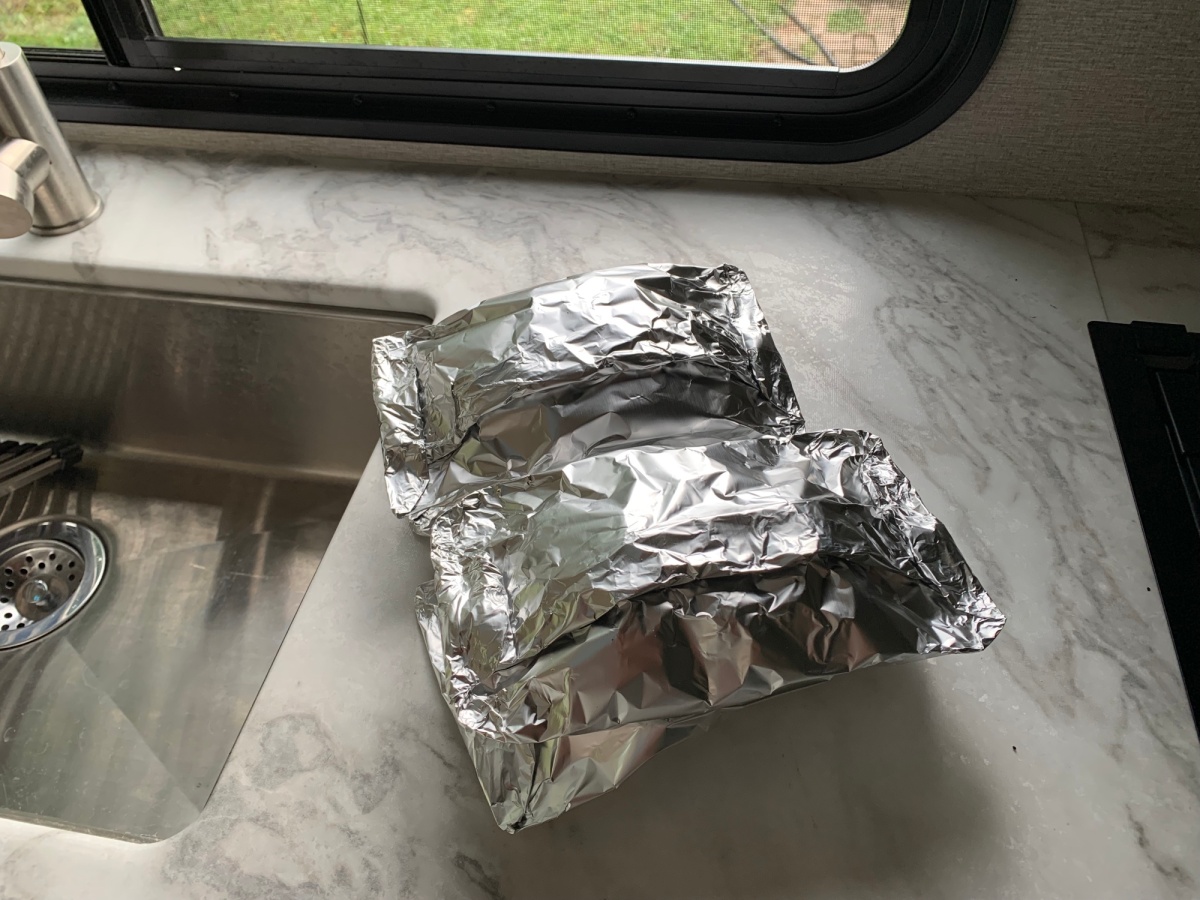
Curing pulled onions means letting them dry out. In a normal climate (without Florida’s humidity) that means leaving the onions out in the sun for a few days. I have so few onions to use, saving them may not be an issue.

More stories from the garden…

Grow Roselle Hibiscus in the Florida Garden

This spring I have added Roselle Hibiscus to my backyard garden. A plant that loves the heat is always welcome to the yard, and this one is also full of health benefits.

Roselle is a name I’ve heard some southern gardeners mention, but I had no idea what it was. Southern Exposure Seed Exchange sells seeds, so I ordered a packet along with my recent seed purchases.

In late fall I planted the seeds in little pots. The Roselle seedlings looked good to begin with, but they eventually got bugs on the leaves. Growing things from seed throughout the winter months is not optimal. A few of these plants did survive, and they now reside in my yard. They are doing great!

roselle seedlings
Roselle hibiscus seedlings

Unfortunately for me, I have discovered that roselle is a large plant. My yard is fairly small, so I planted the seedlings in various spots. Roselle hibiscus likes heat, humidity and sunlight. It should do very well, but I may have to dig and re-plant for space.

After planting the seedlings this Spring, the Roselles are flowering and making the red bulbs now, in May! I have cut them off. I must find out what to do with them. I’m adding that info here, for anyone else who is new to growing it.

Video About Growing Roselle Hibiscus Plants

This video is wonderful. I think this woman lives in Arizona. I like the idea of growing anything that is heat-loving!

Learning About the Roselle Calyces

I’ve purchased hibiscus tea, which is red, and comes from this plant – I assume. It is different from a normal hibiscus, which you do not consume.

As soon as I saw my first Roselle flower, I thought of the okra I grew last year. The biggest difference is that roselle is pink and okra is off-white. Otherwise, the flowers are very similar. This year I have one Roselle planted next to a row of okra (which is growing from my saved seeds).

roselle hibiscus and okra plants
Roselle and okra plants

From everything I’ve seen, the red calyces are supposed to show up in Fall. Mine have begun to show up in April and May. Even Elyse, of The Urban Harvest, says that the flowers won’t show up until Fall… and she mentions drying the petals (?) to store and use the remainder of the year. The advice is part of this wonderful, and informative new video from The Urban Harvest and includes more veggies that can be planted in May here in Florida.

How to Use the Roselle Hibiscus For Food

I had no idea what to do with this collection of red pods. After watching a few videos, I came across this video that depicts three ways of using the calyces. (I’m still not exactly sure of the correct spelling – is it with a c or an x?)

Watch the video, which shows how to peel off the petals, rinse and preserve the edible parts. They can be frozen, dried, or cooked. I plan to eventually try all of these suggestions. But first, I used the petals (about 5 pieces) to make some tea!

The health benefits of drinking hibiscus tea are numerous. Or use it to make jam, and more. How to Use Roselle Hibiscus: 5 Tasty Recipes.

Growing Roselle Hibiscus

I’ve had very good luck growing the Roselle hibiscus. My seedlings were having issues, so maybe just plant the seeds right in the ground to begin with, or start them later in the season in pots.

Once the seedlings were in the ground, they took off. Shortly afterward, they began to flower. I’d never grown them before, but the flowering means the red pods are coming next.

It is not necessary to prune the plants to make them bush out. Mine are doing that on their own. I think the two shown below will need more space and I might have to re-plant.

If you live in Florida, look into growing this plant. It loves the heat and you can make tea from the flower pods (at the very least). Look up the health benefits of drinking hibiscus tea, or using this plant for health. I have found lots of pages online with information.

Please keep reading…

Loading…

Something went wrong. Please refresh the page and/or try again.

Building a New Garden Path

The past winter and spring months have kept me busy in the garden. The planing, planting, weeding, and watering has been a first priority and I’ve neglected the walkways. Also, I still don’t have my own vehicle and must depend on getting rides to the yard shop. Between all that and the weather, I’ve put off buying the items needed to build my new garden path.

Even though I had put cardboard and mulch down about a year ago, the mulch has broken down and the weeds are coming through. A new path is a good reminder of where to walk too! I know where my veggies are planted, but other people don’t, and if they venture into my yard, they could crush little growth that is difficult to see.

Cardboard and Mulch

Saving cardboard boxes is a regular pastime at my house. I stack them up on the porch, along with shipping paper that comes in boxes. Anything that I won’t use gets burned in the burn barrel, or put out for recycling. The cardboard collection is large, so I had no trouble filling up the walkway.

I had to have the mulch bags to hold the cardboard in place so the wind wouldn’t blow it around.

My son drove me to the Yard Shop to pick up some bags of mulch, and I was in business.

I’m an older lady and know my limitations when it comes to yard work. So the first day I put out the cardboard and set the bags of mulch on top. Thankfully the mulch was dry and the bags were easy enough for me to move.

The following day, I opened up the bags and spread them over the cardboard, adding more cardboard in places that needed filling in.

And there it was – my new garden path!

I’d like some flagstones, or slate pieces, to put on top of the mulch. Maybe I will pick some up at some point.

We also picked up a few bags of mushroom compost and potting soil, which I am mixing up 50/50 in the wheelbarrow and putting around the plants that are currently growing.

Our weather here on the east coast of Florida has been beautiful and fairly cool for about a week now. Have to get this stuff done while we can. Oh, and I just ordered a collection of veggie seeds for the year… will be writing about that soon.

Happy gardening!

Stories for the gardener…

Compare: Soil, Site and Seeds

When something doesn’t grow well from seeds, it’s easy to blame bad seeds. But take into consideration the location of the planting. Does the site have enough sun, or too…

Keep reading

Loading…

Something went wrong. Please refresh the page and/or try again.

March Garden Update

This is a quick post about what is growing in the garden in March. Realistically, I can’t keep up with my blogs, photos, work, and gardening. In summer I should have more time because I won’t be going outside.

At this time of year, I am out in the yard most mornings. There has been planting to be done and I still have a few potted plants that need to find a home in the dirt.

Pineapple

Pineapples are easy to grow here, but they take years to create a new pineapple. I had forgotten how much space they take up while growing, and planted them in a couple of my raised beds! Now there is no room for other crops.

This pineapple is finally having a baby! It will grow up out of the center and become a tiny pineapple. After – not sure how long – It can be harvested.

Blueberries

I purchased this blueberry plant on a whim… without any idea about growing it, or where I would put it in my small yard. Blueberries are acid loving plants and I’ve been trying to keep it happy. About a month ago it began to get loads of white flowers and now I have tons of little blueberries – still green.

Either the raccoons will get them, or I might have a tiny crop for myself! (I’m hoping the raccoons won’t realize it’s something edible.)

Gone to Seed

I like to let some of the produce go to seed. This is mainly for the bees. For instance, the Hon Tsai flowering broccoli and the regular broccoli have pretty stalks of yellow flowers.

For a while, every morning a big black bee would come to the broccoli flowers. Other bees, like the one below, were also regulars.

I plan to grow the Hon Tsai variety next winter, just for the flowers.

Roselle, Squash, Carrots and Okra

The spaghetti squash is a new crop for me to try. The seeds have come up nicely and the plants are taking off. Fingers crossed I will have my own squash supply.

The Roselle plants were begun with seeds over the winter. They got bugs and a few seedlings died. The ones that kept growing have now all been planted in the yard. If you are wondering what Roselle is, check it out here: IFAS / UF Gardening Solutions: Roselle.

Last year I grew okra and had a hard time eating it. Bleh… yuk. I did save a pod and have now planted some of the seeds. I won’t have a lot, but I love the plants and flowers – just not the actual okra!

I’m eating carrots now… finally. They took FOREVER to grow. Scarlett Nantes and Danvers did the best for me.

Spiderwort and Other Weeds

I’ve decided to let some Spiderwort and other flowering weeds grow in the yard. The area is small, and I plan to keep it all in check. Bees really love the flowers of these “weeds” and I want to bring bees to the garden.

I’ll let them grow where they pop up as long as it’s an okay place.

This white flowering “Bidens alba” is a particular nuisance when the seeds form. They stick to everything… my clothes, my cats, and are hard to remove. I plan to cut them down before the seeds form!

Watermelon, Cucumber and Seminole Pumpkin

Three types of watermelon have been planted, along with my much loved Seminole Pumpkin. The cucumbers are also in the ground and I am hoping to beat the moths this year.

So much more is happening in the yard, but for now that is all I have to share. There is still much work to be done, with mulching and walkways, compost and watering. It is fun work.

Anyway… I hope you are planting, or planning an upcoming garden, and I’d love to hear all about it. Happy Spring!


Keep reading…

Dealing With Worms on the Cucumbers

Wish I’d known more about growing cucumbers in summer here in Florida BEFORE I decided to try to grow them during summer. Apparently the pickleworm moth moves northward from South Florida and shows up around June / July – here in Central Florida. The moths lay eggs during the night, and worms hatch that eat…

October is Florida Planting Season

Three cheers – it’s October! I’ve been waiting, and not so patiently. The extreme heat is mostly gone and temperatures have gone down to the 80’s. Then, today it was 67 when I went outside at 7:00am and I put on a flannel shirt! Yes, it is finally time to tackle that long list of…

Florida Winter Growing Success and Failures

After the long, sweltering summer, I was looking forward to planting crops for Fall and Winter. It has been fun, and definitely a learning adventure. Some crops have done very well and others are on my “maybe again” list.

Most things were grown from seeds I purchased, either from The Urban Harvest, or Southern Exposure Seed Exchange (SESE). A few crops (and flowers) grew from my own saved seeds.

Growing plants from seed can be very annoying. There is lots of watering and moving into the sun / out of the sun. And lots of these little seedlings didn’t make it. I will NOT be growing plants in tiny pots again.

Arugula – Yes, Plant Again

Last spring / summer I grew arugula for the first time. Not only were the leaves delicious, but I got to see how the seeds grow. Once the tall stalks dried, I picked the stalks and saved them indoors. Those seeds went into the ground in October.

The dried arugula stalks are so sturdy that they work as sticks. The flowers are also pretty, and good for attracting bees.

More Crops to Plant Again

My list of crops to plant again next Fall / Winter are:

  • Chijimisai – spinach (or mustard) grown from seed grew great and had wonderful dark green leaves. I never bothered to thin the seedlings and they all grew beautifully. I planted a new batch in February.
  • Green Beans – planted mid-October and had beans to eat by December. Got a few worms on the leaves, but for the most part they grew wonderfully. Contender beans have pink flowers. Blue Lake Bush have white. Contenders did the best!
  • Tomatoes – Even though I think tomatoes grow better in Spring here in Florida, Planting them in Fall has given me “suckers” to plant in pots for Spring. (More on that to come.)
  • Broccoli – I grew cauliflower, broccoli and brussel sprouts but only the broccoli did well. I boiled the leaves from all three, but only had a decent head of broccoli to eat.

These Didn’t Grow as Expected

  • Hon Tsai flowering broccoli was not a food I enjoyed. The two plants I started in a pot grew the best. The direct sow method didn’t seem to work as well. When the leaves were large enough to eat, I discovered I didn’t want to eat the stuff! I replaced the area with some kale seeds and onions. BUT… the bees love the yellow flowers that form on tall stalks. I’ll grow it again for that reason.
  • Carrots – I would love to be able to grow my own carrots but I have never (up north or down south) had any luck. After months (about 5) of waiting I finally had some carrots. In Feb. and March I was pulling carrots that were started back in October!
  • Beets – I love beets. The seeds were very slow growing and many of the little seedlings were lost along the way. They took a very long time to grow, taking up valuable space in my small amount of garden area. SO… I will grow them again, but for the greens.
  • Swiss Chard, Fordhook – I tried growing chard in Spring and it failed. So, I tried again in Fall, and it did not grow well. Not sure if I will try this one again.

Garden Growing Goals

Realistically, I would like to have some type of green growing in the backyard year round. I believe it is doable, but I need to figure out which ones work best for which season.

More stories from the garden…

Harvesting the Beets and Cooking a Meal of Greens

Using the beets and greens that have grown over winter in my Florida backyard.

It is January 25th and today I pulled up all the beets. They were growing in a box which I needed for planting and growing green beans. 

The beets were small and most were not really beets, but long red roots. However I did get a few to cut up and cook. I’m not sure, but I think maybe beets are mainly grown for the greens where I live. I didn’t have luck with growing actual beets.

Thanks to this site, I knew how to deal with the greens and incorporated them into my beets and rice meal. 

How I Made This Meal

  • Pull beets from backyard and rinse dirt
  • Separate greens from beets and trim and cut beets for cooking. Simmer in water for 20 minutes, or until soft – my beets were small.
  • Remove stems from greens and chop
  • Slice onions (also from backyard), along with garlic
  • Saute onion, garlic and stems in oil for a minute or two and then add a little water. Cover and simmer to soften.
  • Chop leaves a bit and add to sautéed mix with a bit more water if needed
  • Cover and simmer for 3-4 minutes until it all looks cooked.
  • Squeeze in a little lime juice. 
  • Cook Basmati rice in the beet water – 1/2 cup

If any water is leftover in the pan, dump it into the beets pan. Reserve all that water once the beets are cooked and use it to cook rice.

This is a waste free meal that reserves all the goodness of fresh picked vegetables. The roots and yellowed leaves of the beets went into my compost pile.

Add salt and pepper and butter… yummy!

beets and greens with rice
Garden beets and greens cooked and served with Basmati rice